No Bake Peanut Butter Cheerio Bars
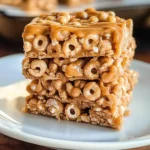
Ooey, chewy No Bake Peanut Butter Cheerio Bars are the perfect treat for any occasion! This delightful recipe combines the crunchy goodness of Cheerios with creamy peanut butter and crunchy peanuts. Whether you’re hosting a party, looking for an after-school snack, or simply craving something sweet, these bars are sure to please everyone. They’re quick to make and require no baking, making them an easy choice for busy days!
Why You’ll Love This Recipe
- Quick and Easy: With just a few simple steps, you can whip up these bars in no time.
- No Baking Required: Perfect for hot days when you don’t want to turn on the oven.
- Kid-Friendly: Kids will love helping mix and shape these delicious bars.
- Versatile Treat: Enjoy them as a snack, dessert, or lunchbox surprise.
- Nutritious Ingredients: Packed with whole grains and protein, they make a healthier sweet option.
Tools and Preparation
To create your No Bake Peanut Butter Cheerio Bars, you’ll need some essential kitchen tools. Having the right equipment makes preparation smooth and enjoyable.
Essential Tools and Equipment
- Nonstick spray
- Medium saucepan
- Large mixing bowl
- 9×13 inch baking pan
- Wooden spoon or spatula
Importance of Each Tool
- Nonstick spray: Ensures your bars release easily from the pan without sticking.
- Medium saucepan: Perfect for heating ingredients evenly without burning.
- Large mixing bowl: Provides enough space to combine all ingredients thoroughly without mess.
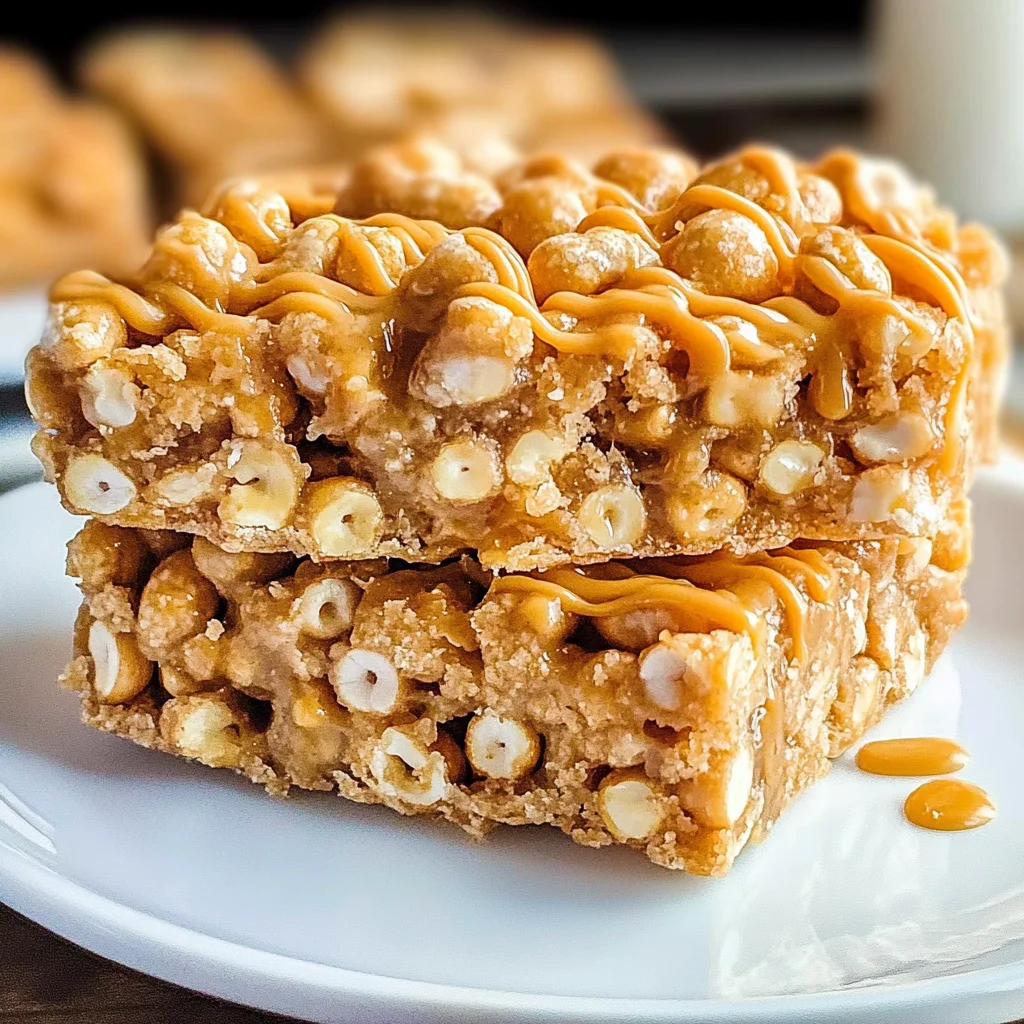
Ingredients
Ingredients:
– 1 cup white sugar
– 1 ¼ cups light corn syrup
– 1 cup peanut butter
– 2 teaspoons vanilla
– 1 cup peanuts
– 6 cups Cheerios
How to Make No Bake Peanut Butter Cheerio Bars
Step 1: Prepare the Pan
- Spray a 9×13 inch baking pan with nonstick spray and set it aside.
Step 2: Heat Sugar and Syrup
- In a medium saucepan, mix together white sugar and light corn syrup.
- Bring the mixture to a boil over medium heat.
Step 3: Add Peanut Butter and Vanilla
- Remove the pan from heat once boiling.
- Stir in peanut butter and vanilla, mixing until smooth.
Step 4: Combine Ingredients
- In a large mixing bowl, pour in the Cheerios and peanuts.
- Pour the peanut butter mixture over the Cheerios and peanuts.
- Stir until everything is well combined.
Step 5: Set the Bars
- Spread the Cheerio mixture evenly in the prepared baking pan.
- Let cool at room temperature before cutting into bars.
Enjoy these tasty No Bake Peanut Butter Cheerio Bars as a satisfying snack or dessert that everyone will love!
How to Serve No Bake Peanut Butter Cheerio Bars
No Bake Peanut Butter Cheerio Bars are deliciously versatile and can be enjoyed in many ways. Whether you’re serving them at a party or packing them for a snack, these bars will surely please everyone!
As a Snack
- Perfect for a quick pick-me-up during the day. These bars offer an energy boost without being too heavy.
With Coffee or Tea
- Pair your bars with a warm beverage. The richness of peanut butter complements the flavors of coffee or tea beautifully.
For Dessert
- Serve these bars as a delightful dessert option. Drizzle some melted chocolate on top for an extra treat.
In Lunchboxes
- Cut them into smaller squares for kids’ lunches. They make for a fun and nutritious addition to any lunchbox.
At Parties
- Slice into bite-sized pieces for sharing at gatherings. These bars are easy to grab and enjoy while mingling.
How to Perfect No Bake Peanut Butter Cheerio Bars
To get the best results from your No Bake Peanut Butter Cheerio Bars, follow some simple tips that can enhance both flavor and texture.
- Use fresh ingredients: Fresh peanut butter and crunchy peanuts will elevate the taste and texture of your bars.
- Mix thoroughly: Ensure the peanut butter mixture is well combined before adding it to the Cheerios and peanuts for even distribution.
- Press firmly: When spreading the mixture into the pan, press down firmly to ensure the bars hold together well once cooled.
- Let cool completely: Allowing your bars to cool completely before cutting helps them set properly, making them easier to slice.
- Store properly: Keep your bars in an airtight container at room temperature for optimal freshness and chewiness.
Best Side Dishes for No Bake Peanut Butter Cheerio Bars
These No Bake Peanut Butter Cheerio Bars pair wonderfully with various side dishes that complement their sweet and nutty flavors. Here are some great options:
-
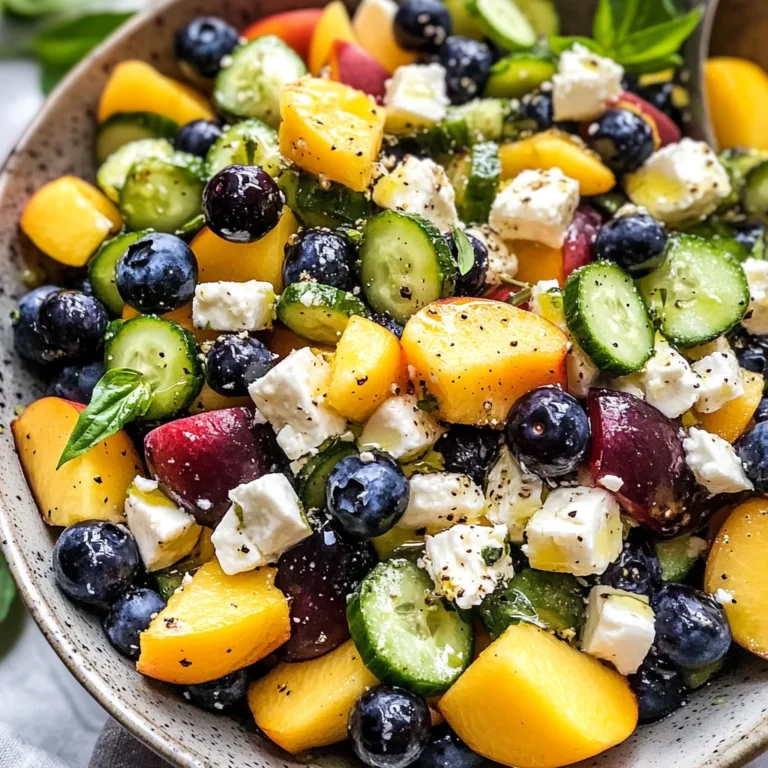
Fresh Fruit Salad
A mix of seasonal fruits adds freshness and balances out the sweetness of the bars. -
Yogurt Parfait
Layer yogurt with granola and berries. The creaminess of yogurt contrasts nicely with the chewy texture of the bars. -
Veggie Sticks with Hummus
Crisp veggies like carrots and cucumbers dipped in hummus provide a crunchy, savory contrast. -
Trail Mix
A nutty trail mix can enhance the peanut flavor while adding variety to your snack options. -
Cheese Platter
A selection of cheeses pairs well, offering savory notes that balance out the sweetness. -
Popcorn
Lightly salted popcorn can serve as a fun, crunchy side that complements the chewy texture of the bars. -
Smoothie Bowl
A refreshing smoothie bowl topped with seeds and nuts makes a vibrant side dish that harmonizes with the flavors of the bars. -
Rice Cakes with Nut Butter
Rice cakes topped with additional nut butter provide another layer of nutty flavor while keeping things light and airy.
Common Mistakes to Avoid
Making No Bake Peanut Butter Cheerio Bars can be simple, but a few common mistakes can lead to unsatisfactory results. Here are some pitfalls to avoid:
-
Skipping the Nonstick Spray: Not greasing the pan can make it difficult to remove your bars. Always spray your baking pan with nonstick spray for easy removal.
-
Rushing the Boiling Process: It’s crucial to let the sugar and corn syrup mixture reach a full boil. If you don’t, the texture may not set properly. Allow it to boil for at least one minute.
-
Overmixing Ingredients: Stirring too vigorously after adding the peanut butter can break down the Cheerios, leading to a mushy texture. Mix gently until just combined.
-
Not Letting Them Cool Enough: Cutting the bars too early can result in crumbles instead of clean slices. Let them cool completely before cutting into squares.
-
Ignoring Storage Guidelines: Improper storage can lead to stale or hard bars. Follow proper storage methods to maintain freshness.
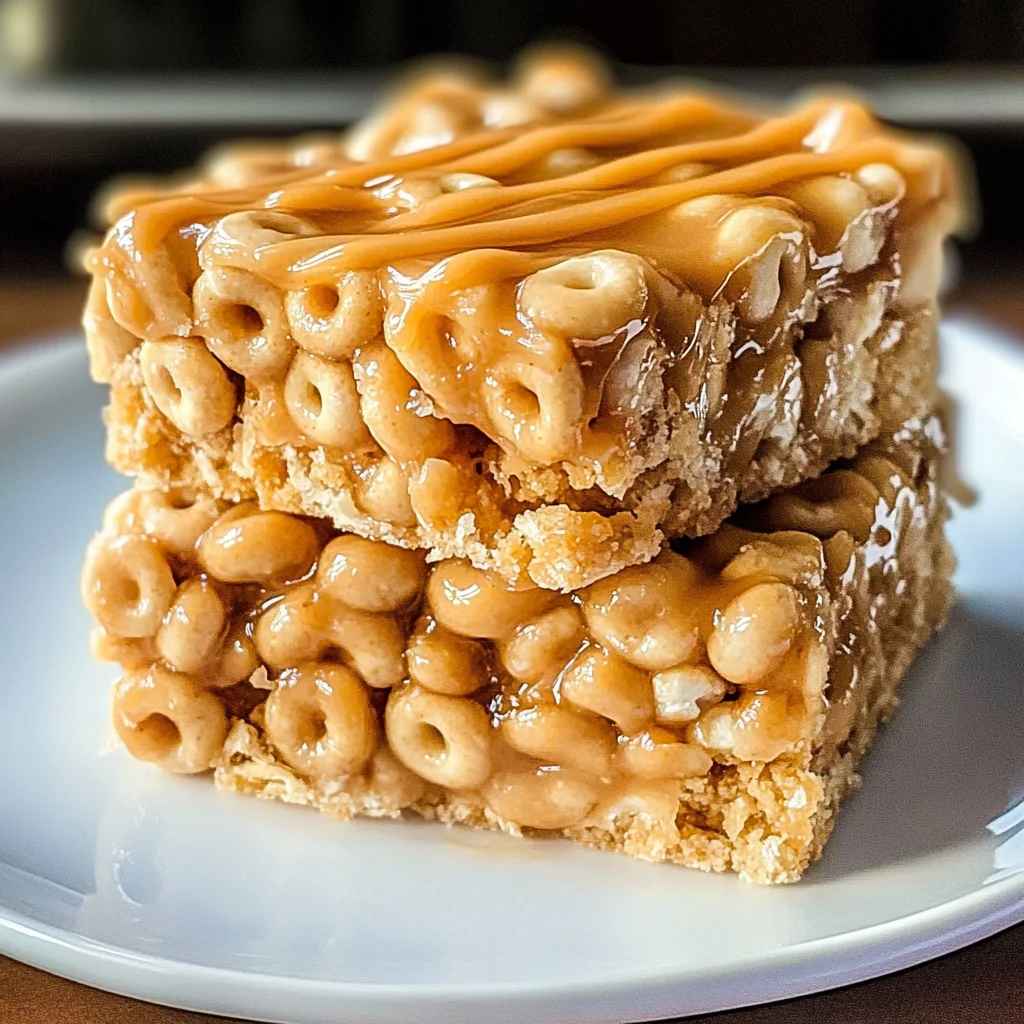
Storage & Reheating Instructions
Refrigerator Storage
- Store in an airtight container.
- They will stay fresh for up to one week in the refrigerator.
Freezing No Bake Peanut Butter Cheerio Bars
- Wrap each bar individually in plastic wrap.
- Place wrapped bars in a freezer-safe bag or container; they can be frozen for up to three months.
Reheating No Bake Peanut Butter Cheerio Bars
- Oven: Preheat oven to 350°F (175°C). Place bars on a baking sheet for about 5 minutes until warm.
- Microwave: Heat individual bars on a microwave-safe plate for 10-15 seconds.
- Stovetop: Use a nonstick skillet over low heat and warm bars for a few minutes, flipping occasionally.
Frequently Asked Questions
Here are some common questions about No Bake Peanut Butter Cheerio Bars:
Can I use other cereals instead of Cheerios?
Yes, you can substitute Cheerios with other cereals like Rice Krispies or Cornflakes for different textures and flavors.
How do I make my No Bake Peanut Butter Cheerio Bars more nutritious?
Add nuts, seeds, or dried fruits to boost nutrition without compromising taste.
How long do these bars last?
When stored properly, these bars last up to one week in the refrigerator and up to three months if frozen.
What is the best way to cut these bars?
For clean cuts, use a sharp knife and allow the bars to cool completely before slicing them into squares.
Final Thoughts
No Bake Peanut Butter Cheerio Bars are not only delicious but also incredibly versatile. You can customize them by adding your favorite nuts or dried fruits. Give this recipe a try for an easy snack that everyone will love!
No Bake Peanut Butter Cheerio Bars
Indulge in the delightful No Bake Peanut Butter Cheerio Bars, a quick and easy treat that combines the irresistible taste of creamy peanut butter with crunchy Cheerios. Perfect for busy days, these bars require no baking, making them an ideal choice for after-school snacks, party treats, or a sweet pick-me-up anytime. With their chewy texture and nutty flavor, everyone will love this wholesome dessert that is simple to prepare and customizable with your favorite add-ins. Whether enjoyed at home or on-the-go, these bars are sure to satisfy your cravings while providing a nutritious option packed with whole grains and protein.
- Prep Time: 10 minutes
- Cook Time: 5 minutes
- Total Time: 15 minutes
- Yield: Approximately 12 servings 1x
- Category: Dessert
- Method: No Bake
- Cuisine: American
Ingredients
- 1 cup white sugar
- 1 ¼ cups light corn syrup
- 1 cup peanut butter
- 2 teaspoons vanilla extract
- 1 cup peanuts
- 6 cups Cheerios
Instructions
- Prepare a 9×13 inch baking pan by spraying it with nonstick spray.
- In a medium saucepan, combine white sugar and light corn syrup. Bring to a boil over medium heat.
- Remove from heat and stir in peanut butter and vanilla until smooth.
- In a large mixing bowl, combine Cheerios and peanuts. Pour the peanut butter mixture over them and mix well.
- Spread the mixture evenly into the prepared pan and let cool completely before cutting into bars.
Nutrition
- Serving Size: 1 bar (40g)
- Calories: 180
- Sugar: 9g
- Sodium: 80mg
- Fat: 8g
- Saturated Fat: 1g
- Unsaturated Fat: 6g
- Trans Fat: 0g
- Carbohydrates: 24g
- Fiber: 1g
- Protein: 4g
- Cholesterol: 0mg

