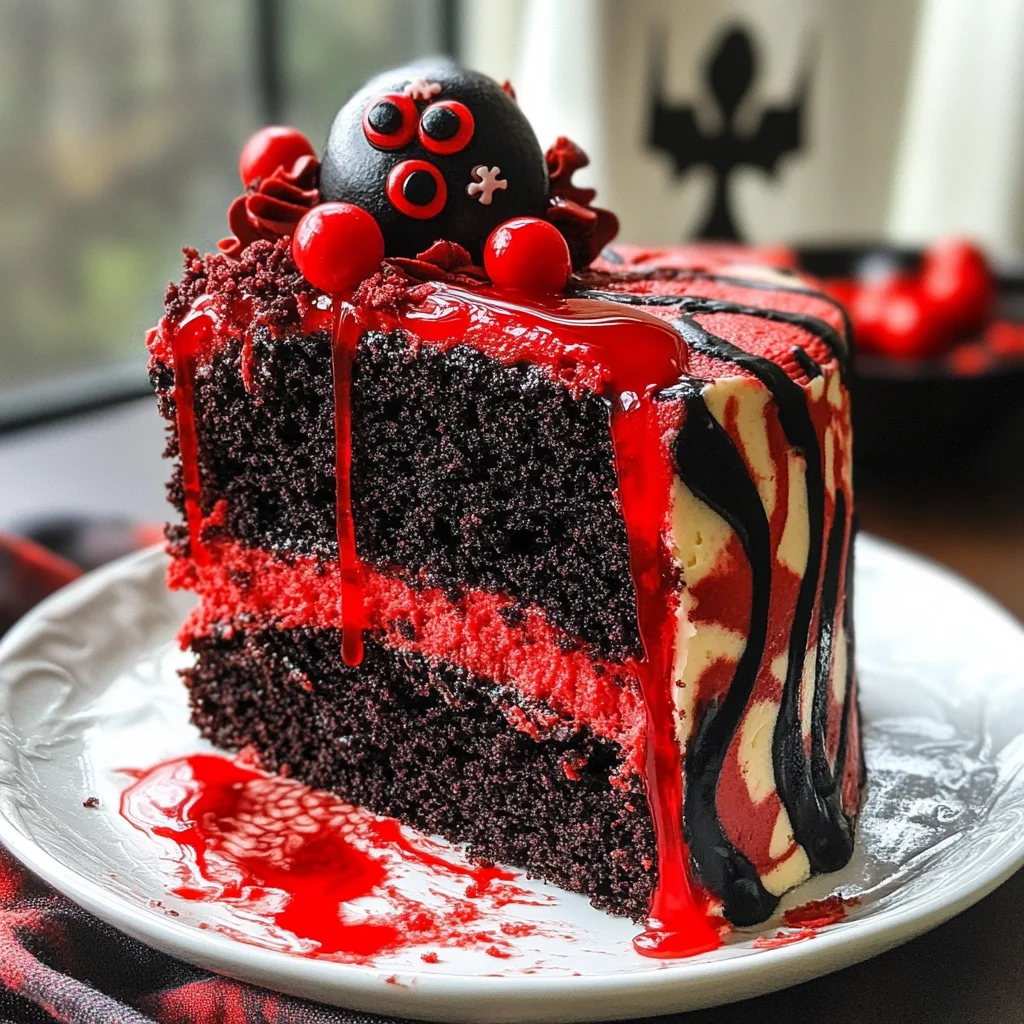
Spooky Halloween Marble Cake
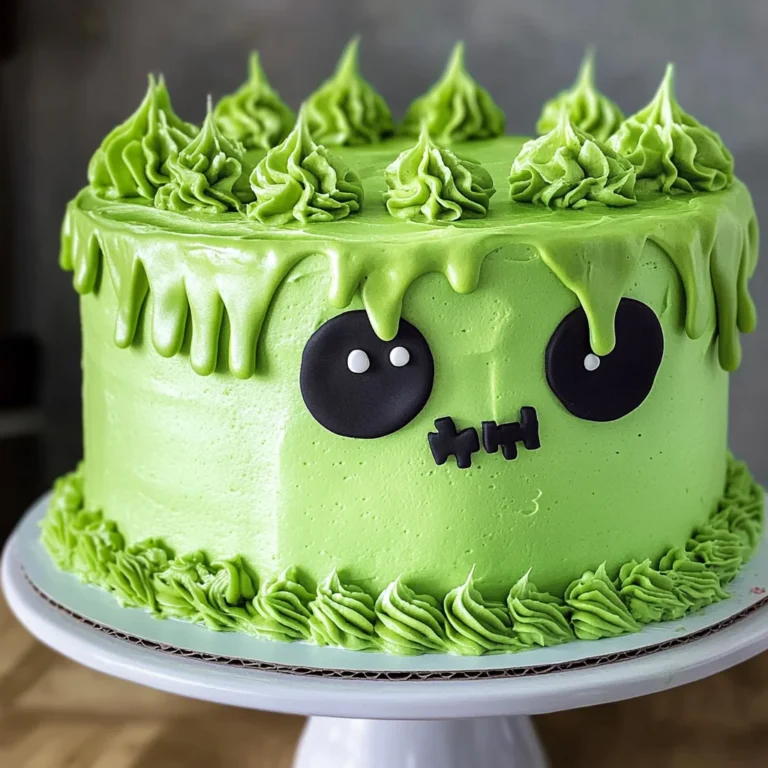
This Spooky Halloween Marble Cake is a show-stopping dessert perfect for Halloween parties. The striking red and black marble design, combined with drippy red blood icing and playful bloody sprinkles, makes it an eye-catching treat. Not only is it delicious, but it’s also versatile enough to suit various spooky celebrations and gatherings, ensuring your guests will be both impressed and delighted.
Why You’ll Love This Recipe
- Eye-Catching Design: The striking marbling creates a visually stunning cake that captures the essence of Halloween.
- Delicious Flavors: A mix of rich chocolate and vanilla flavors ensures that this cake is not just pretty but tasty too.
- Fun Decorating Opportunity: The decoration process allows for creativity, making it a fun project for bakers of all ages.
- Perfect for Any Occasion: This cake isn’t just for Halloween; it can be adapted for other festive events with slight modifications.
- Feeds a Crowd: With 12-14 slices, it’s ideal for parties, ensuring there’s enough to go around.
Tools and Preparation
To create this spooky masterpiece, you’ll need some essential tools. Having the right equipment can make the baking process smoother and more enjoyable.
Essential Tools and Equipment
- Mixing bowls
- Electric mixer
- Measuring cups and spoons
- Baking pans (9-inch round)
- Cooling rack
- Piping bag
Importance of Each Tool
- Electric mixer: Saves time and effort when mixing the batter, ensuring it’s fluffy and well-combined.
- Baking pans: Properly sized pans help achieve even baking, resulting in a moist cake.
- Cooling rack: Allows the cake to cool evenly without becoming soggy on the bottom.
Ingredients
To make the perfect Spooky Halloween Marble Cake, gather these ingredients:
For the Cake
- 2 1/4 cups (293g) all purpose flour
- 2 1/2 tsp baking powder
- 1/4 tsp baking soda
- 1/2 tsp salt
- 1/2 cup (112g) unsalted butter, room temperature
- 1/2 cup vegetable oil
- 1 1/2 cups (310g) sugar
- 1 tbsp vanilla extract
- 4 large eggs
- 1 cup (240ml) buttermilk
- 5 oz bittersweet chocolate (60% cacao), chopped
For the Icing
- Black gel icing color
- Red gel icing color
- 2 1/4 cups (504g) unsalted butter
- 8 cups (920g) powdered sugar
- 1 cup (114g) natural unsweetened cocoa powder
- 2 tsp vanilla extract
- 5-7 tbsp (75-105ml) water/cream
- 1/4 tsp salt
For Decoration
- Black gel icing color
- 4 oz red Wilton candy melts
- 2 tbsp heavy whipping cream
- Sprinkles (see notes)
How to Make Spooky Halloween Marble Cake
Step 1: Preheat the Oven
Preheat your oven to 350°F (175°C). Grease and flour your round baking pans to prevent sticking.
Step 2: Mix Dry Ingredients
In a mixing bowl, combine:
1. All-purpose flour
2. Baking powder
3. Baking soda
4. Salt
Whisk together until evenly mixed.
Step 3: Cream Butter and Sugar
In another bowl, beat together:
1. Unsalted butter
2. Vegetable oil
3. Sugar
Mix until creamy and light in texture.
Step 4: Add Eggs and Vanilla
Add the eggs one at a time to the butter mixture, mixing well after each addition. Then stir in vanilla extract.
Step 5: Combine Wet Ingredients
Gradually add buttermilk to the mixture while continuing to mix.
Step 6: Incorporate Dry Ingredients
Slowly add the dry ingredients into the wet mixture until just combined.
Step 7: Prepare Chocolate Mixture
Melt bittersweet chocolate in a microwave or double boiler until smooth. Divide half of the batter into another bowl and mix with melted chocolate.
Step 8: Create Marble Effect
In each prepared pan, alternate spoonfuls of vanilla batter and chocolate batter. Use a knife or skewer to swirl through gently.
Step 9: Bake Cakes
Bake in preheated oven for about 20 minutes or until a toothpick inserted comes out clean.
Step 10: Cool Cakes
Allow cakes to cool in pans for about 10 minutes before transferring them onto cooling racks.
How to Serve Spooky Halloween Marble Cake
Serving your Spooky Halloween Marble Cake can be just as fun as making it! With its vibrant colors and spooky decorations, this cake is perfect for Halloween parties or gatherings. Here are some creative ways to serve it.
Individual Slices
- Serve slices on themed plates for an instant festive touch.
- Add a dollop of whipped cream or a scoop of vanilla ice cream on the side.
Cupcake Style
- Cut the cake into small squares and place them in cupcake liners.
- Drizzle with extra blood icing for a gory effect.
Dessert Platter
- Arrange slices on a large platter with assorted Halloween-themed treats.
- Include candies, cookies, and other spooky desserts for variety.
Mini Cakes
- Bake smaller versions in individual cake pans for personal servings.
- Decorate each mini cake with unique spooky designs.
How to Perfect Spooky Halloween Marble Cake
Perfecting your Spooky Halloween Marble Cake ensures it impresses everyone at your gathering. Follow these tips for the best results.
- Use room temperature ingredients: Ensure all your ingredients are at room temperature for better mixing.
- Don’t overmix: Mix the batter until just combined to maintain a fluffy texture.
- Chill the frosting: Chill your frosting slightly before decorating; this makes it easier to work with.
- Test doneness: Use a toothpick to check if the cake is done; it should come out clean or with a few crumbs attached.
- Let it cool completely: Allow the cake to cool fully before frosting to prevent melting.
Best Side Dishes for Spooky Halloween Marble Cake
Pairing side dishes with your Spooky Halloween Marble Cake can enhance the overall experience. Here are some great options that complement this festive dessert.
- Witch’s Brew Punch: A refreshing drink made with green sherbet and lemon-lime soda, perfect for Halloween vibes.
- Ghostly Fruit Salad: A mix of seasonal fruits like oranges, apples, and grapes, shaped into ghost figures using cookie cutters.
- Mummy Hot Dogs: Hot dogs wrapped in crescent dough strips that resemble mummies; serve them warm for a fun treat.
- Pumpkin Soup: A creamy pumpkin soup served in small bowls adds warmth and comfort alongside dessert.
- Bloody Mary Salad: A salad featuring cherry tomatoes, mozzarella balls, and basil in a tangy dressing; it’s both delicious and visually appealing.
- Spooky Cheese Board: An assortment of cheeses, crackers, and nuts arranged on a board with creepy garnishes like plastic spiders or carved veggies.
Common Mistakes to Avoid
When making your Spooky Halloween Marble Cake, it’s easy to stumble upon a few common pitfalls. Here are some mistakes to avoid for the best results.
-
Skipping the room temperature ingredients: Using cold butter or eggs can affect the cake’s texture. Always let these ingredients come to room temperature before mixing.
-
Not measuring ingredients accurately: Baking is a science. Use precise measurements for flour and sugar to ensure your cake rises properly and has the right texture.
-
Overmixing the batter: Mixing too much can lead to a dense cake. Combine the ingredients just until they are incorporated for a lighter crumb.
-
Neglecting oven temperature: An incorrect oven temperature can ruin your cake. Use an oven thermometer to ensure it’s set correctly before baking.
-
Forgetting about cooling time: Cutting into the cake too soon can cause it to crumble. Allow it to cool completely in the pan before transferring it to a wire rack.

Storage & Reheating Instructions
Refrigerator Storage
- Store your Spooky Halloween Marble Cake in an airtight container.
- It will last up to 5 days in the refrigerator.
Freezing Spooky Halloween Marble Cake
- Wrap individual slices in plastic wrap and then place them in a freezer-safe bag.
- The cake can be frozen for up to 3 months.
Reheating Spooky Halloween Marble Cake
- Oven: Preheat your oven to 350°F (175°C). Wrap slices in foil and heat for about 10-15 minutes.
- Microwave: Place a slice on a microwave-safe plate and heat for 20-30 seconds until warm.
- Stovetop: Heat a skillet over low heat and warm the slice for about 2-3 minutes on each side.
Frequently Asked Questions
What makes this Spooky Halloween Marble Cake special?
This cake stands out with its striking red and black marbling, perfect for Halloween festivities. The addition of spooky decorations enhances its festive appeal.
Can I use different colors for marble effect?
Yes, feel free to experiment with different gel icing colors! Creating unique combinations can make your Spooky Halloween Marble Cake even more fun.
How can I customize my Spooky Halloween Marble Cake?
You can add various toppings like gummy worms or chocolate spiders or even alter the flavor by adding spices like cinnamon or nutmeg for an extra kick!
Is buttermilk essential for this recipe?
Buttermilk adds moisture and tanginess, contributing to the cake’s overall flavor and texture. However, you can substitute it with regular milk mixed with a bit of vinegar if needed.
How long does it take to bake this cake?
The total time required is about 2 hours and 5 minutes, including prep time, cooking time, and cooling time before decorating.
Final Thoughts
The Spooky Halloween Marble Cake is not only visually stunning but also deliciously satisfying. Its versatility allows you to customize it with various decorations and flavors, making it perfect for any Halloween celebration. Don’t hesitate to try out this enchanting recipe; it’s sure to impress your guests!
Spooky Halloween Marble Cake
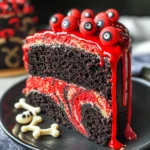
Indulge in the festive spirit with this Spooky Halloween Marble Cake, a delightful dessert that captivates both the eyes and the palate. The striking red and black marbling, topped with drippy “blood” icing and eerie sprinkles, makes it an unforgettable centerpiece for any Halloween gathering. This cake combines rich chocolate and vanilla flavors, ensuring that your guests not only admire its appearance but also savor each bite. Perfect for parties, this recipe yields 12-14 servings, making it ideal for sharing. Get ready to impress your friends and family with this fun and creative baking project that’s sure to be the talk of the night!
- Prep Time: 30 minutes
- Cook Time: 20 minutes
- Total Time: 50 minutes
- Yield: Approximately 14 servings 1x
- Category: Dessert
- Method: Baking
- Cuisine: American
Ingredients
- 2 1/4 cups all-purpose flour
- 2 1/2 tsp baking powder
- 1/4 tsp baking soda
- 1/2 tsp salt
- 1/2 cup unsalted butter, room temperature
- 1/2 cup vegetable oil
- 1 1/2 cups sugar
- 1 tbsp vanilla extract
- 4 large eggs
- 1 cup buttermilk
- 5 oz bittersweet chocolate, chopped
- Black gel icing color
- Red gel icing color
- 2 1/4 cups unsalted butter
- 8 cups powdered sugar
- 1 cup natural unsweetened cocoa powder
- 2 tsp vanilla extract
- 5–7 tbsp water/cream
- 1/4 tsp salt
- 4 oz red Wilton candy melts
- 2 tbsp heavy whipping cream
- Sprinkles
Instructions
- Preheat oven to 350°F (175°C). Grease and flour two 9-inch round baking pans.
- In a bowl, whisk together flour, baking powder, baking soda, and salt.
- Cream together butter, vegetable oil, and sugar until light and fluffy. Add eggs one at a time, mixing well after each addition. Stir in vanilla extract.
- Gradually mix in buttermilk until combined. Slowly add dry ingredients until just mixed.
- Melt bittersweet chocolate and fold half of the batter into it.
- Alternate spoonfuls of vanilla and chocolate batters into prepared pans; swirl gently with a knife.
- Bake for about 20 minutes or until a toothpick comes out clean. Cool in pans for 10 minutes before transferring to a wire rack.
Nutrition
- Serving Size: 1 slice (100g)
- Calories: 432
- Sugar: 38g
- Sodium: 210mg
- Fat: 20g
- Saturated Fat: 10g
- Unsaturated Fat: 8g
- Trans Fat: 0g
- Carbohydrates: 58g
- Fiber: 1g
- Protein: 5g
- Cholesterol: 75mg