Apple Hand Pies
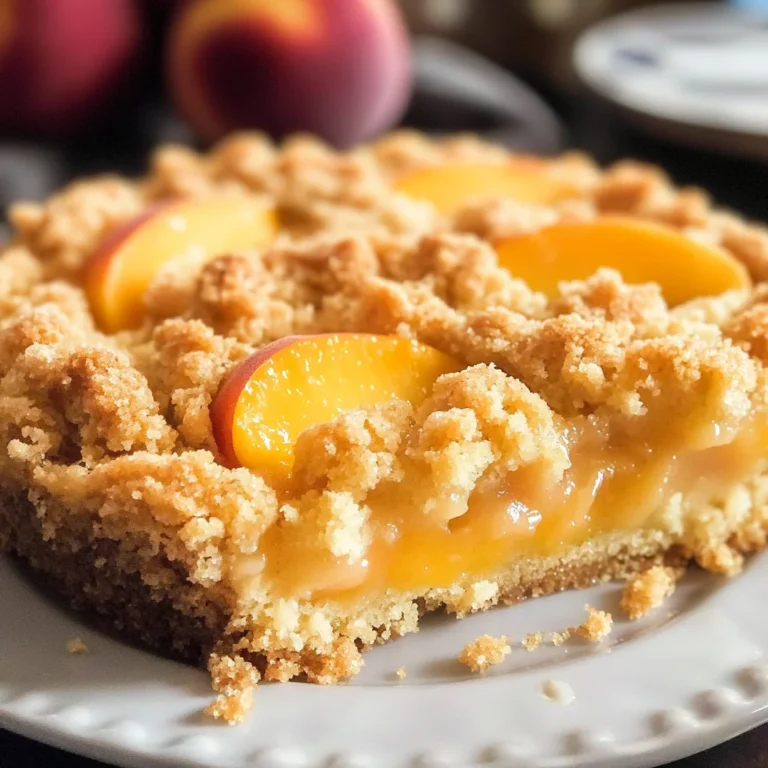
Apple Hand Pies are a delightful treat that combines the warmth of homemade apple pie filling with the convenience of a portable dessert. Perfect for breakfast, brunch, or dessert, these hand pies are versatile enough to elevate any occasion. Their flaky crust and sweet apple filling create a mouthwatering experience that is hard to resist.
Why You’ll Love This Recipe
- Easy to Make: With simple ingredients and straightforward steps, anyone can whip up these delicious treats.
- Delicious Flavor: The combination of Granny Smith and Macoun apples offers a perfect balance of tartness and sweetness.
- Perfect for Sharing: These hand pies make an excellent snack for gatherings, picnics, or as a sweet addition to your brunch spread.
- Customizable Filling: Feel free to experiment with different spices or add-ins like raisins or nuts for a unique twist on the classic recipe.
Tools and Preparation
To make Apple Hand Pies efficiently, having the right tools is essential. Here’s what you need to gather before starting.
Essential Tools and Equipment
- Rolling pin
- Mixing bowl
- Frying pan or deep fryer
- Pastry brush
Importance of Each Tool
- Rolling pin: Ensures your dough is evenly rolled out for the perfect crust thickness.
- Mixing bowl: Ideal for combining your filling ingredients thoroughly.
- Frying pan or deep fryer: Helps achieve that golden-brown crispy exterior on your hand pies.
Ingredients
Apple Hand Pies are made with homemade apple pie filling inside homemade pie crust or biscuit dough.
For the Filling
- 5 medium/large apples (Granny Smith & Macoun)
- 3 tablespoons unsalted butter
- 2 tablespoons brown sugar
- 1/4-1/2 cup granulated sugar
- 2 tablespoons lemon juice
- 1 tablespoon cornstarch
- 1 teaspoon ground cinnamon
- 1/4 teaspoon ground nutmeg
For the Crust
- Homemade pie crust or biscuit dough
How to Make Apple Hand Pies
Step 1: Prepare the Apples
Start by peeling, coring, and slicing your apples into thin pieces. This ensures they cook evenly in the filling.
Step 2: Make the Filling
In a mixing bowl, combine the sliced apples with unsalted butter, brown sugar, granulated sugar (adjust based on sweetness preference), lemon juice, cornstarch, ground cinnamon, and nutmeg. Stir well until all slices are coated.
Step 3: Roll Out the Dough
On a floured surface, use a rolling pin to roll out your homemade pie crust or biscuit dough until it’s about 1/8 inch thick. Cut out circles using a cookie cutter or a glass.
Step 4: Fill the Pies
Place one tablespoon of the apple filling onto one half of each dough circle. Fold over to create a half-moon shape and press edges together firmly. You may crimp edges with a fork for decoration.
Step 5: Fry the Hand Pies
Heat oil in your frying pan or deep fryer over medium heat. Carefully place a few hand pies into hot oil at a time, frying until golden brown (about 2 minutes per side). Remove and drain excess oil on paper towels.
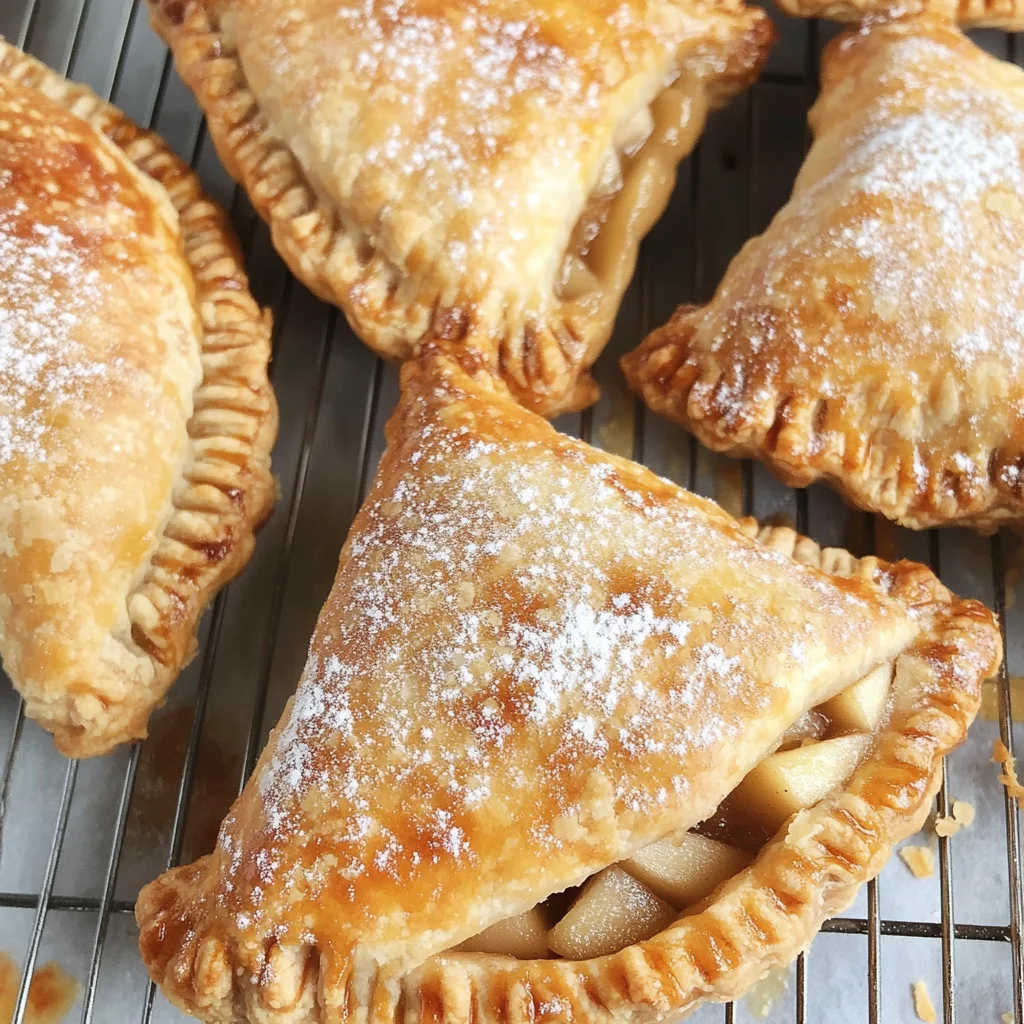
Step 6: Serve Warm
Enjoy your Apple Hand Pies warm! They can be served plain or dusted with powdered sugar for an extra touch of sweetness.
How to Serve Apple Hand Pies
Apple Hand Pies are a delightful treat that can be enjoyed in various ways. These portable desserts are perfect for breakfast, brunch, or as a sweet snack. Here are some creative serving suggestions for your delicious hand pies.
With Vanilla Ice Cream
- A scoop of creamy vanilla ice cream complements the warm apple filling perfectly. The cold ice cream contrasts beautifully with the flaky crust.
Drizzled with Caramel Sauce
- Adding a drizzle of rich caramel sauce elevates the flavor and adds a touch of indulgence. It’s a simple yet effective way to enhance your hand pies.
Topped with Whipped Cream
- Light and fluffy whipped cream brings a lightness to the dish. Serve it on top of each pie for an airy finish.
Accompanied by Fresh Fruit
- Serve with a side of fresh fruit, such as berries or sliced oranges. This adds freshness and color to your plate.
Paired with Coffee or Tea
- Enjoying Apple Hand Pies alongside a hot cup of coffee or tea is perfect for brunch. The warm beverage balances the sweetness of the pies.
How to Perfect Apple Hand Pies
Making the perfect Apple Hand Pies requires some tips to ensure they turn out delicious every time. Here are some helpful suggestions.
- Use cold ingredients: Keeping your butter and water cold will help create a flakier crust.
- Don’t overfill: Adding too much filling can cause the pies to burst during cooking, so keep it moderate.
- Seal edges well: Press the edges firmly before frying or baking to prevent leakage.
- Brush with egg wash: An egg wash gives your pies a beautiful golden color and adds shine.
- Experiment with spices: Feel free to adjust spices like cinnamon and nutmeg according to your taste preferences.
Best Side Dishes for Apple Hand Pies
Apple Hand Pies can be complemented beautifully by various side dishes that enhance their flavors. Here are some great options to consider.
-
Vanilla Yogurt
A light and tangy yogurt provides a refreshing contrast to the sweet hand pies, making it an excellent pairing. -
Cheese Platter
A selection of cheeses, like cheddar or brie, offers savory notes that balance the sweetness of the apple filling. -
Mixed Green Salad
A crisp salad dressed in vinaigrette adds freshness and crunch, making for a well-rounded meal. -
Cinnamon Sugar Tortilla Chips
These sweet chips add crunch and extra apple flavor through cinnamon sugar seasoning; perfect for dipping into sauces! -
Spiced Hot Cider
This warm drink echoes apple flavors while providing cozy warmth during cooler months. -
Chocolate Sauce
For those who love chocolate, serving warm apple hand pies with chocolate sauce creates an indulgent dessert experience.
Common Mistakes to Avoid
Making Apple Hand Pies can be a delightful experience, but avoiding common mistakes will ensure they turn out perfectly.
- Ignoring the dough temperature: Using warm dough can lead to soggy pies. Always chill your dough before rolling it out.
- Overfilling the pies: Stuffing too much filling can cause the pies to burst during cooking. Keep the filling within 1-2 tablespoons per pie.
- Not sealing properly: Failing to seal the edges well can result in leaks. Use a fork or your fingers to crimp the edges securely.
- Skipping egg wash: Omitting an egg wash can lead to dull-looking pies. Brush the tops with an egg wash for a golden finish.
- Underestimating cooking time: Rushing the cooking process may leave your filling cold. Ensure you cook them until golden brown and crispy.
Storage & Reheating Instructions
Refrigerator Storage
- Store Apple Hand Pies in an airtight container in the fridge.
- They will stay fresh for up to 3 days.
Freezing Apple Hand Pies
- Wrap each pie in plastic wrap and then place them in a freezer bag.
- Frozen Apple Hand Pies can last for up to 3 months.
Reheating Apple Hand Pies
- Oven: Preheat your oven to 350°F (175°C) and bake for about 10-15 minutes until warm.
- Microwave: Heat on medium power for 30-second intervals until warmed through.
- Stovetop: Heat in a skillet over low heat for 5-7 minutes, flipping occasionally.
Frequently Asked Questions
What apples are best for making Apple Hand Pies?
The best apples for Apple Hand Pies include Granny Smith and Macoun. Their tartness balances well with sugar and spices.
Can I use store-bought pie crust?
Yes, you can use store-bought pie crust if you’re short on time. Just roll it out and fill it as you would with homemade crust.
How do I customize my Apple Hand Pies?
You can customize them by adding nuts, raisins, or even caramel sauce to the filling for extra flavor.
Are these Apple Hand Pies suitable for breakfast?
Absolutely! These hand pies make for a delicious breakfast option or brunch treat that everyone will love.
Final Thoughts
Apple Hand Pies are not only delightful but also versatile. You can customize them with various fillings or spices. They are perfect for breakfast, dessert, or as a sweet snack anytime. Try making these easy treats and enjoy their comforting warmth!
Apple Hand Pies

Apple Hand Pies are a charming and delicious treat that encapsulate the essence of homemade apple pie in a portable form. With a flaky crust enveloping a warm, spiced apple filling, these hand pies are perfect for breakfast, brunch, or as a sweet dessert after dinner. Their delightful combination of Granny Smith and Macoun apples strikes the ideal balance between sweet and tart, making them irresistible at any gathering. Simple to prepare and easily customizable, they are sure to please both guests and family alike.
- Prep Time: 30 minutes
- Cook Time: 10 minutes
- Total Time: 40 minutes
- Yield: Approximately 8 servings 1x
- Category: Dessert
- Method: Frying
- Cuisine: American
Ingredients
- 5 medium/large apples (Granny Smith & Macoun)
- 3 tablespoons unsalted butter
- 2 tablespoons brown sugar
- 1/4–1/2 cup granulated sugar
- 2 tablespoons lemon juice
- 1 tablespoon cornstarch
- 1 teaspoon ground cinnamon
- Pie crust or biscuit dough
Instructions
- Peel, core, and slice the apples thinly.
- In a mixing bowl, combine apples with butter, brown sugar, granulated sugar (to taste), lemon juice, cornstarch, cinnamon, and nutmeg.
- Roll out the pie crust on a floured surface to about 1/8 inch thick and cut into circles.
- Place one tablespoon of filling on one half of each circle; fold over and seal edges.
- Fry in medium heat oil until golden brown on both sides (about 2 minutes).
- Serve warm with optional powdered sugar dusting.
Nutrition
- Serving Size: 1 serving
- Calories: 280
- Sugar: 15g
- Sodium: 180mg
- Fat: 14g
- Saturated Fat: 5g
- Unsaturated Fat: 9g
- Trans Fat: 0g
- Carbohydrates: 36g
- Fiber: 2g
- Protein: 2g
- Cholesterol: 15mg